
Step-by-Step Guide: Bake Traditional Danish Rye Bread at Home
Introduction
Did you know that Danish rye bread, known as "rugbrød," is a staple in Denmark and has been enjoyed for centuries? This nutritious, dense bread is rich in flavor and packed with health benefits thanks to its whole grains. Unlike the typical white bread, Danish rye bread offers a unique taste that's perfect for sandwiches, especially those adorned with Nordic toppings.
In this guide, you'll learn how to bake authentic Danish rye bread right in your kitchen. Whether you're an experienced baker or just starting, this step-by-step process will equip you with the knowledge and skills needed to create a loaf that's both delicious and fulfilling.
Here's what we'll cover in this guide:
The essential ingredients for Danish rye bread
Preparing the dough and the fermentation process
-
Baking techniques to achieve the perfect crust and texture
Tips for storing and serving your homemade bread
Ingredients for Authentic Danish Rye Bread
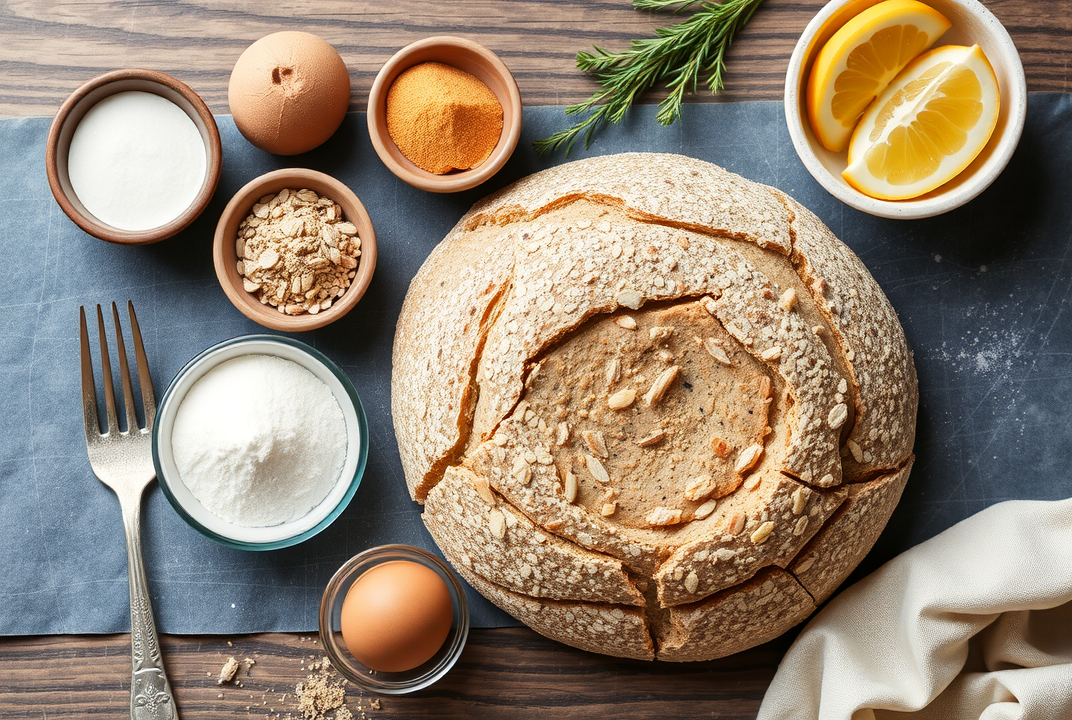
Before you start, gather the following ingredients:
-
Rye Flour: The primary ingredient that gives the bread its characteristic taste.
-
Whole Wheat Flour: Adds texture and nutritional value.
-
Sunflower Seeds: Optional but adds crunch and nutty flavor.
-
Pumpkin Seeds: Another optional ingredient for added texture.
-
Flaxseeds: Source of healthy fats and fiber.
-
Salt: Enhances flavor.
-
Warm Water: Helps activate the yeast.
-
Dry Yeast: Necessary for the dough to rise.
Preparing the Dough
-
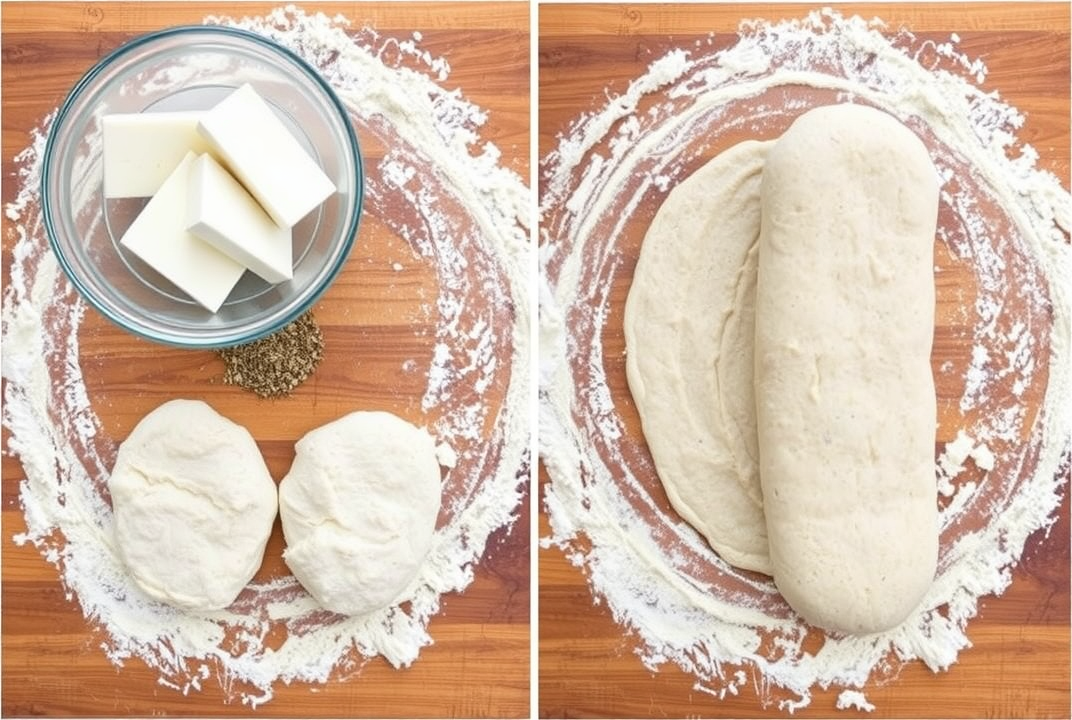
Mixing the Ingredients: Start by combining rye flour, whole wheat flour, sunflower seeds, pumpkin seeds, and flaxseeds in a large mixing bowl. Add salt and yeast, ensuring they are evenly distributed.
-
Adding Water: Gradually add warm water to the dry ingredients. Mix thoroughly until a sticky dough forms. Note: The dough will be stickier than traditional bread dough due to the high rye content.
-
Initial Kneading: Knead the dough lightly in the bowl for about 5-7 minutes. This helps develop gluten.
Fermentation and Proofing
-
Fermentation: Cover the dough with a damp cloth and let it sit at room temperature for 12-16 hours, allowing natural fermentation to occur. This step is crucial for the development of the bread's distinctive sour flavor.
-
Shaping the Dough: After fermentation, transfer the dough to a floured surface, shape it into a loaf, and place it into a prepared bread pan.
-
Second Proofing: Let the shaped dough rise for another 2 hours. This final rise is essential for achieving the right texture.
Baking the Bread
-
Preheating the Oven: Preheat your oven to 190°C (375°F). Place an empty baking tray on the bottom rack to create steam.
-
Baking: Position the bread pan in the center of the oven. Pour a cup of water into the empty tray to produce steam. Bake for 50-60 minutes.
-
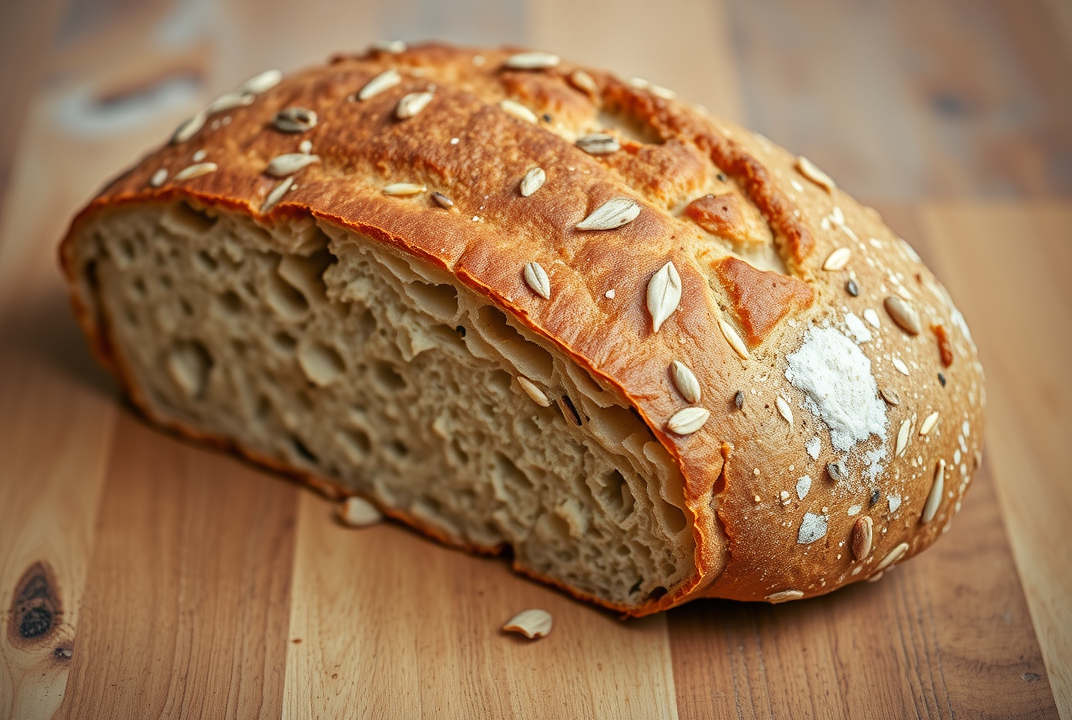
Checking for Doneness: The bread is ready when the crust is firm and a deep brown color. It should sound hollow when tapped.
Cooling and Storing
-
Cooling: Remove the bread from the oven and let it cool in the pan for 10 minutes. Then, transfer it to a wire rack to cool completely. This prevents sogginess.
-
Storing: Once fully cooled, wrap the bread in a clean cloth or store it in an airtight container to maintain freshness for up to a week.
Serving Suggestions
-
Traditional Toppings: Try serving your Danish rye bread with a variety of toppings such as smoked salmon, cream cheese, avocado slices, or pickled herring.
-
Danish Open Sandwiches: Known as Smørrebrød, these open-faced sandwiches are a great way to showcase your bread.

Conclusion
Baking Danish rye bread at home may seem daunting initially, but it's a rewarding experience that brings the taste of Denmark to your kitchen. This bread not only complements a variety of dishes but also stands out with its rich flavor and nutritional benefits.
Put your newfound skills to the test, and enjoy the process of creating something delicious and wholesome. Whether for breakfast, lunch, or dinner, Danish rye bread will be a delightful addition to your table.
Feel free to experiment with different seeds and toppings to make each loaf uniquely yours. Happy baking!