
Master Danish Rye Bread Baking: A Beginner's Step-by-Step Guide
Introduction
Are you aware that Danish rye bread, known as "rugbrød," is a staple with roots tracing back to the Viking era? This bread, which is rich in fiber and often part of the traditional Danish lunch, is both a nutritional powerhouse and a quintessential element of Danish cuisine. If you've ever considered baking your own, this comprehensive guide will lead you through each step, ensuring you achieve bakery-quality results at home.
In this guide, you will learn the essential techniques and tips to bake authentic Danish rye bread, from selecting ingredients to mastering fermentation and baking. Let’s embark on this culinary venture together!
Understanding Danish Rye Bread
What Makes Rye Bread Unique?
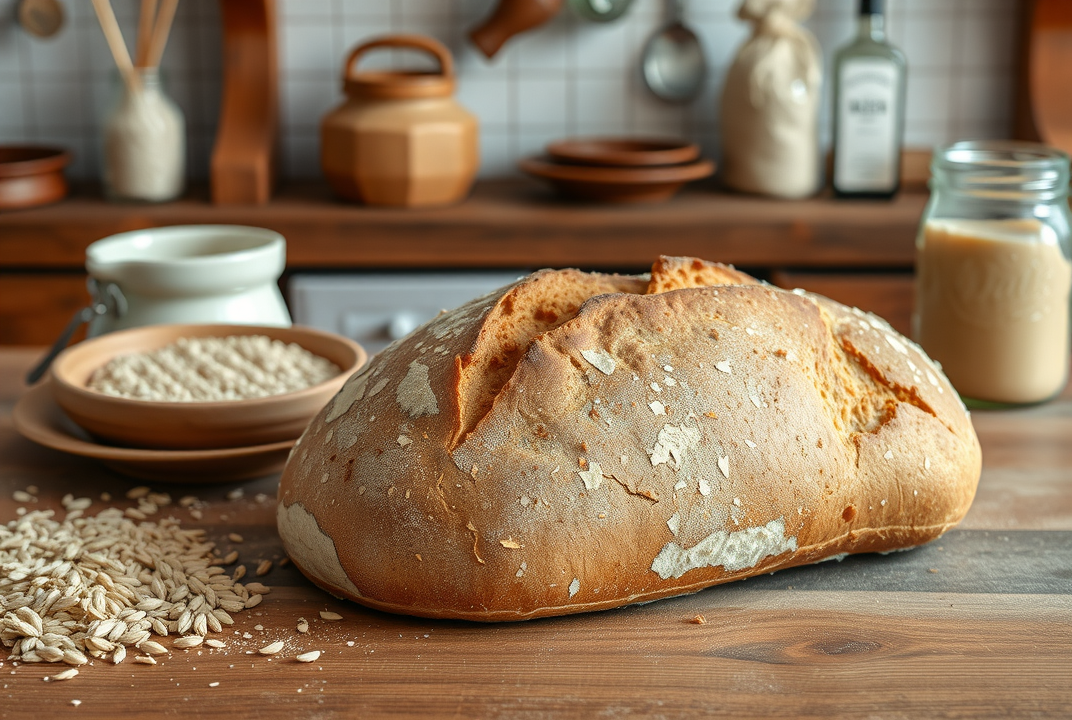
Danish rye bread is distinct for its dense texture, deep flavor, and nutritional value. Unlike other bread types, it relies significantly on rye flour, providing a unique taste. It’s not only a source of complex carbohydrates but also a nutritional source, loaded with vitamins, minerals, and fiber.
The Role of Fermentation
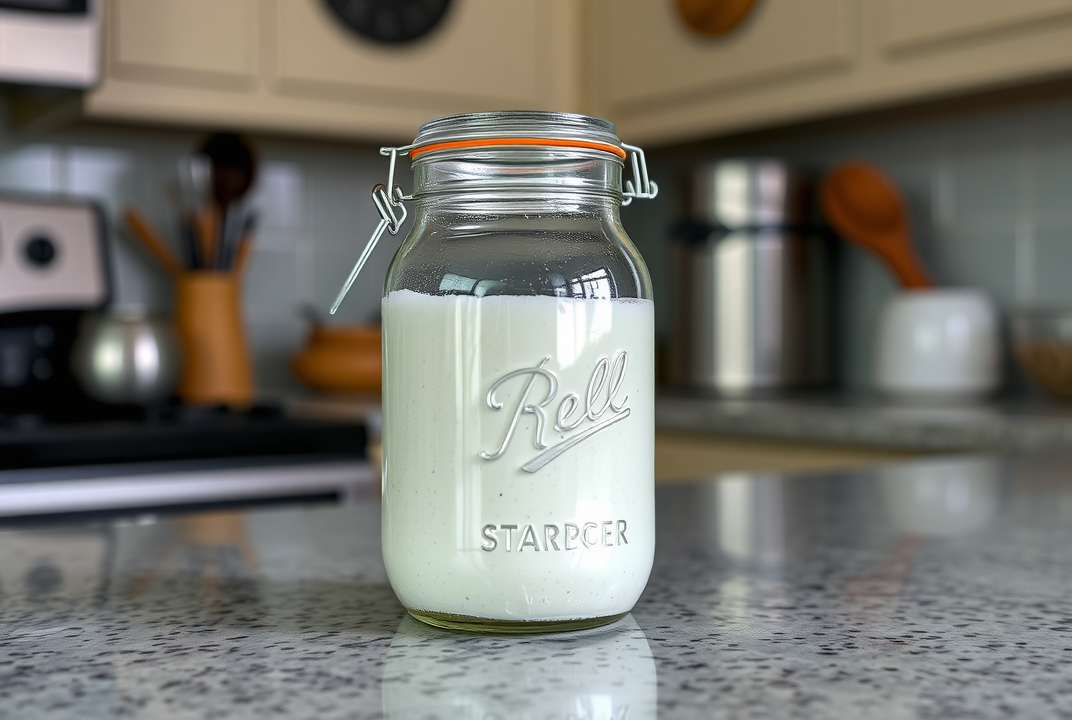
Fermentation is crucial in rye bread baking, enhancing its flavor and texture. The process begins with a sourdough starter, vital for developing the bread's unique taste. This section will cover how fermentation works, the importance of a sourdough starter, and how to prepare your own.
Gathering Ingredients
Essential Ingredients
Before diving into the baking process, assembling the right ingredients is essential. You will need:
-
Rye flour: The core ingredient for authentic Danish bread.
-
Whole grains: Often included for texture and health benefits.
-
Sourdough starter: Acts as the leavening agent.
-
Water, salt, and spices: To bring out the flavors.
Choosing Quality Ingredients
The quality of ingredients impacts the final product. Opt for organic, high-quality rye flour, and grains when possible for the best taste and texture.

Prepping Your Sourdough Starter
Starting Your Sourdough
The heart of great rye bread is a robust sourdough starter. To make your starter:
-
Mix equal parts of rye flour and water in a clean container.
-
Cover and let sit at room temperature, stirring daily.
-
Continue feeding with equal parts flour and water over several days.
-
Your starter is ready when it bubbles and has a tangy aroma.
Maintaining Your Starter
Regularly feed your starter to keep it active. For those not baking daily, refrigeration is an option to slow down fermentation.
Crafting the Dough
Mixing the Dough
With your sourdough ready, it’s time to mix the dough.
-
In a large bowl, combine rye flour, whole grains, salt, and water.
-
Add the sourdough starter gradually, mixing until a uniform consistency.
Cover and let the dough rest to absorb moisture.
Kneading and Shaping
While traditional rye bread requires minimal kneading, shaping the dough correctly is crucial:
Turn the dough onto a floured surface.
Shape into a rough oval or desired loaf form.
-
Place the shaped dough into a proving basket or loaf tin.

Fermentation and Proofing
Initial Fermentation
Cover the dough and allow it to ferment at room temperature. This process typically lasts 12 to 24 hours, depending on the ambient temperature.
Proofing Before Baking
After initial fermentation, proof the dough by allowing it to rise until it appears puffy. This could take 2 to 4 hours.
Baking Your Rye Bread
Preparing to Bake
Preheat your oven to 230°C (450°F). Place a baking stone or heavy-duty baking tray inside to heat up. Prepare your loaf by scoring the top with a sharp blade to allow expansion.
Baking Process
-
Transfer your proofed loaf onto the preheated baking surface.
-
Bake for 15 minutes before reducing the temperature to 200°C (390°F).
-
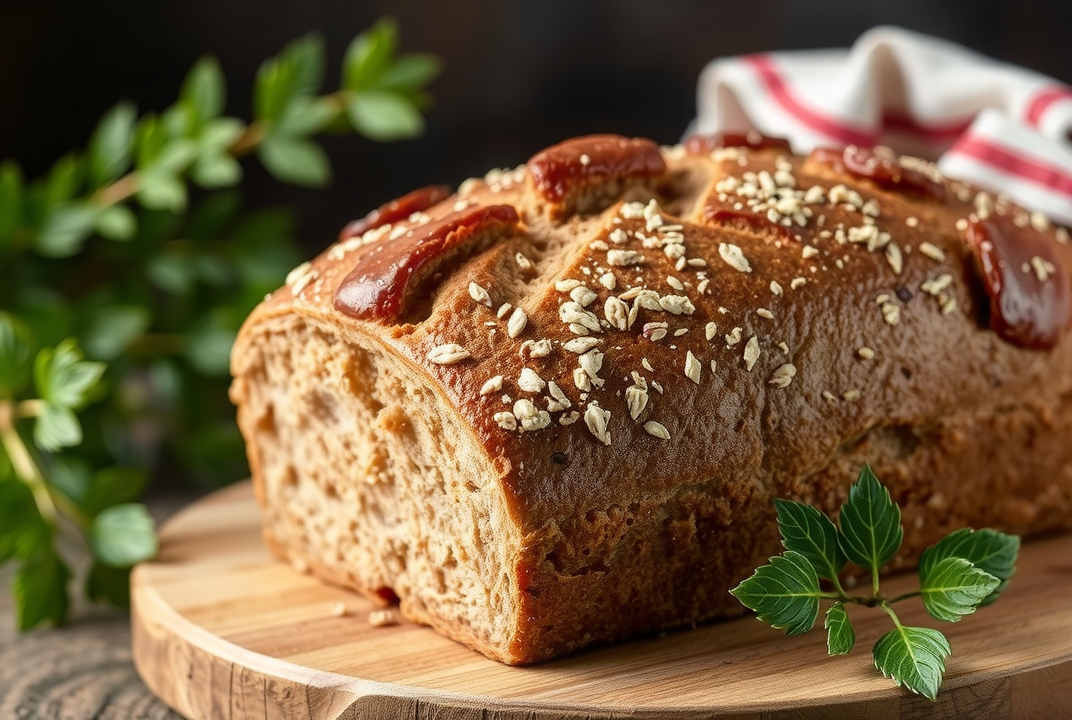
Continue baking for 30-40 minutes until the bread is deep brown and sounds hollow when tapped.
Cool completely on a wire rack before slicing.
Tips for Perfect Rye Bread
-
Consistency: Ensuring consistency with ingredients and preparation leads to better results.
-
Patience: Allowing proper fermentation and proofing times is critical.
-
Experimentation: Adjusting ingredients and fermentation times can lead to personalized flavor profiles.
Conclusion
Embarking on the journey of baking Danish rye bread at home can be rewarding, offering not only delicious bread but also a deeper understanding of traditional baking techniques. With the guidance provided in this step-by-step process, you’ll soon master authentic Danish rye bread that impresses any palate. Try it today and enjoy a slice of wholesome Nordic tradition in your kitchen!