
Traditional Danish Pastries: From Bakery Icons to Homemade Delights
Introduction
Did you know that Denmark has a rich tradition of pastries, celebrated globally for their unique flavors and textures? Traditional Danish pastries are not only a staple in Danish bakeries but have also found a place in homes worldwide. This article will explore the allure of these pastries and provide tips on how to recreate them at home.
This journey will take you through the history of Danish pastries, introduce classic favorites, and guide you through the steps of making authentic Danish pastries in your own kitchen. By the end, you’ll have the insight and confidence to try making these pastries yourself.
The History of Danish Pastries
The story of Danish pastries begins in the 1850s when Danish bakers went on strike, and bakery owners hired foreign workers to fill the gaps. Among these were Austrian bakers who introduced techniques and recipes that evolved into what we now know as Danish pastries.
One of the defining characteristics of Danish pastries is their laminated dough, which is similar to croissants but usually sweeter and richer due to the addition of butter and sugar.
Iconic Traditional Danish Pastries
1. Wienerbrød (Danish)
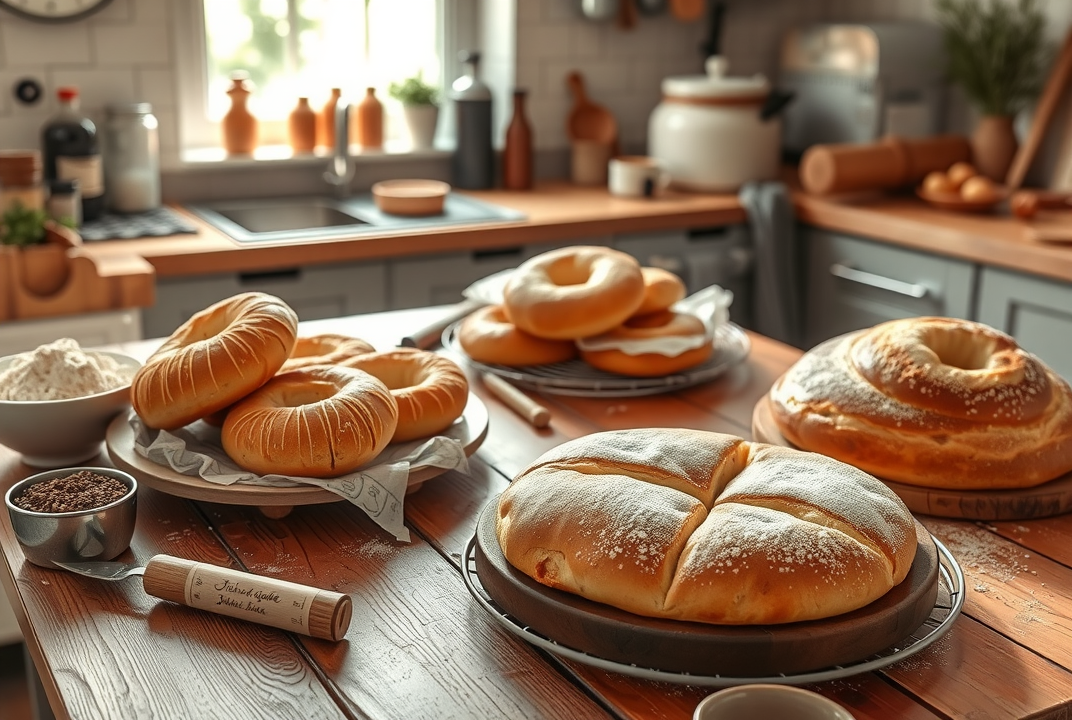
The most iconic of all is "wienerbrød," which literally means "Vienna bread." Typically, it is a multilayered, butter-rich pastry filled with various delicious items such as custard, marzipan, or jam. It's often topped with icing or sugar and served during breakfast or as a sweet snack with coffee.
2. Kanelsnegle (Cinnamon Rolls)
Kanelsnegle are spirals of cinnamon-flavored delight. Though similar to cinnamon rolls found in other cultures, their soft texture and subtly sweet glaze make them unmistakably Danish.
3. Spandauer (Custard Spandles)
This pastry features a square shape with a dollop of custard cream in the center. A popular treat in Denmark, spandauer is often found in bakeries across the country.
Transforming Danish Pastries at Home
Creating Danish pastries at home is both a rewarding and enjoyable endeavor. Even if you’re new to baking, following these structured steps can help you achieve professional results.
Step 1: Gather Ingredients and Tools
Start by assembling fresh ingredients: high-quality flour, fresh yeast, real butter, sugar, milk, and eggs. Proper tools include a rolling pin, pastry brush, and baking trays.
Step 2: Mastering the Dough
-
Mixing Ingredients: Combine yeast, warm milk, and sugar in a bowl. Let it sit until foamy. In a separate bowl, blend flour, salt, and the yeast mixture.
-
Kneading: Knead the dough until smooth. Cover and let it rise until doubled.
-
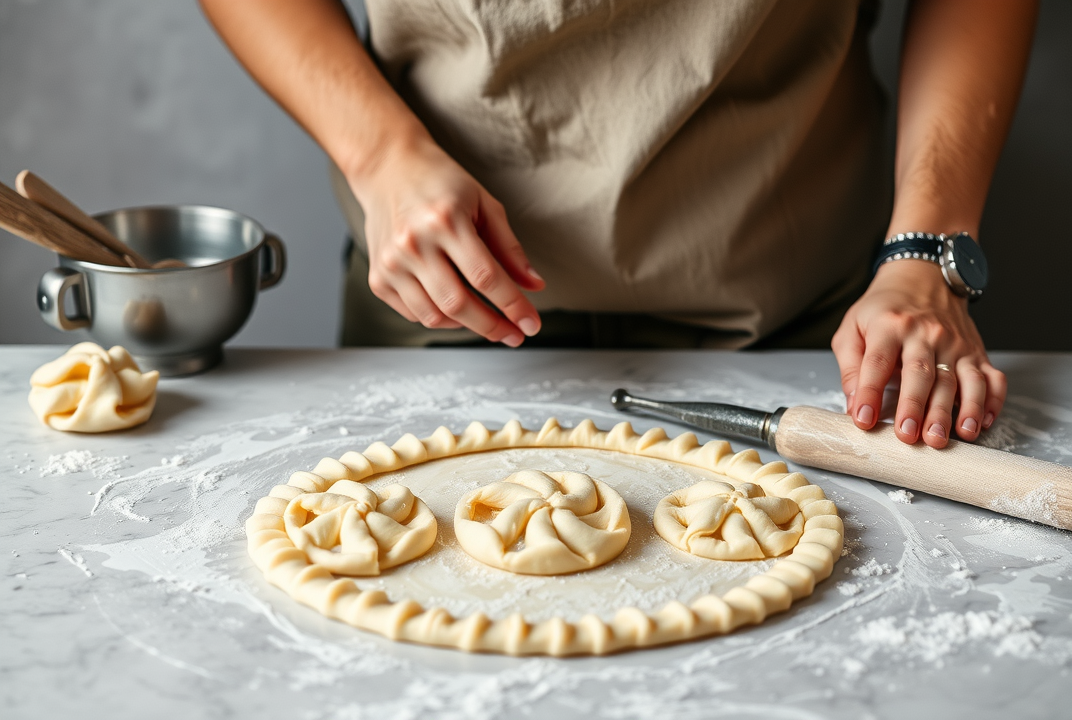
Lamination: Roll out the dough into a rectangle, spread butter over two-thirds, then fold like a letter. Chill, then repeat rolling and folding to create layers.
Step 3: Shaping and Filling
-
For Wienerbrød: Cut dough and add fillings like custard or jam. Fold into desired shapes.
-
For Kanelsnegle: Roll the dough into a log, slice into spirals, and sprinkle with cinnamon sugar.
-
For Spandauer: Cut into squares, add custard in the center, and fold corners.
Step 4: Baking and Glazing
Preheat your oven to 220°C (428°F). Bake until golden brown. Add glaze generously while warm for kanelsnegle or top spandauer with icing.
Tips for Perfect Homemade Danish Pastries
-
Temperature Control: Keep the butter and dough cool to prevent melting layers.
-
Consistent Rolling: Ensure the dough thickness remains consistent when rolling and cutting.
-
Try Different Fillings: Experiment with fruit, cheese, or nut-based fillings for variety.
Conclusion
Traditional Danish pastries are an art in the baking world, offering a delightful taste of Scandinavian culture. By following these steps, you can create pastries at home that rival those of Danish bakeries. Ready your oven and start trying your hand at these timeless recipes.
Making homemade Danish pastries is a rewarding experience that not only fills your kitchen with delightful aromas but also brings a taste of Denmark to your home. Be sure to share your creations with family and friends, enjoying the classic flavors that have delighted taste buds for generations.